
Blooming
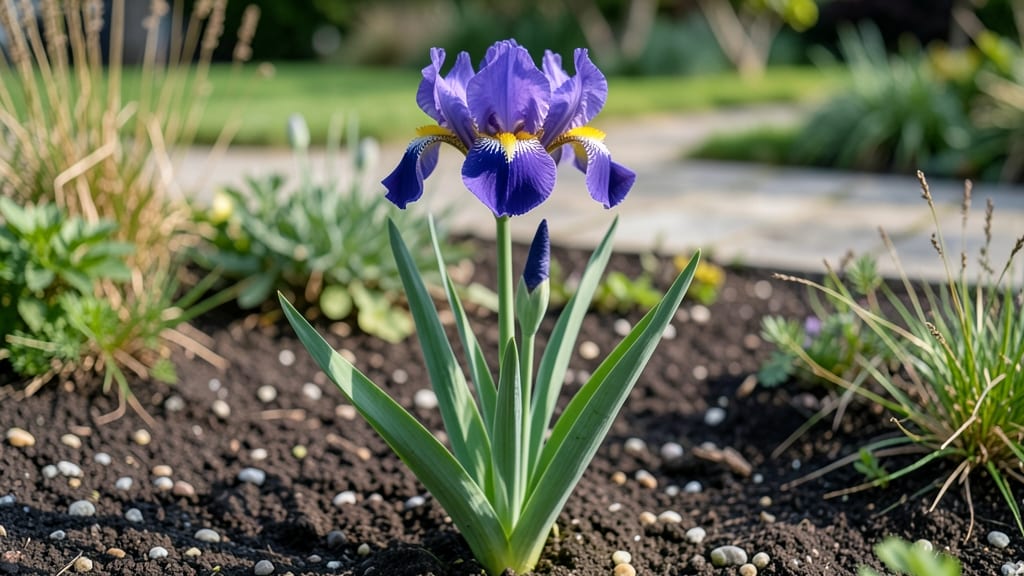
Dutch iris flowering time depends on when you plant and your USDA zone, but most varieties burst into bloom between late April and early June—just in time for spring’s most vibrant garden moments.
If you’ve ever dreamed of a garden bursting with vibrant Dutch iris blooms but struggled to time their planting or flowering, you’re not alone. These striking 🌸 flowers thrive on precise seasonal cues, and a misstep can mean waiting another year for that showstopping display.
In Zone 6a, where many gardeners live, Dutch irises typically flower in April or May, but cooler climates may push blooms into early June. The key? Planting in fall (September–October) or early spring ensures they establish roots before the growing season kicks in.
Below, I’ll break down the exact months for your zone, how to extend their bloom time, and the simple tricks to guarantee longer, more abundant flowers—no guesswork required.
Exact Dutch iris flowering months by USDA zone: what to expect
Dutch irises (Iris × hollandica) are famous for their bold, colorful blooms that light up gardens in late spring to early summer. But their exact flowering time varies dramatically by USDA zone, with northern gardens seeing blooms weeks earlier than southern ones.
Understanding these differences helps you plan for peak color and avoid disappointment when your irises don't bloom on schedule.
The key to predicting Dutch iris blooms lies in cold temperature requirements and daylight exposure. Most varieties need 12-16 weeks of chilling (below 50°F) to trigger flowering. Once temperatures rise and daylight increases, growth accelerates.
In warmer zones (8-10), blooms may arrive as early as February-March, while cooler zones (3-5) typically see flowers in May-June.
In northern zones (3-5), Dutch irises often bloom later because they need more time to break dormancy after winter. The first frost date in fall is critical—planting too early can lead to premature growth that gets damaged.
Aim to plant rhizomes in September-October for best results, allowing them to establish roots before winter.
Southern gardeners in zones 8-10 face different challenges. The mild winters may not provide enough chilling hours, causing blooms to arrive early or be sparse. To compensate, plant in fall (October-November) and consider winter chilling techniques like refrigerating bulbs for 8-10 weeks before planting if natural chilling is insufficient.
For staggered blooms, mix early-, mid-, and late-season varieties. For example, pair 'Blue Flag' (early) with 'White Emperor' (mid) and 'John H. Dyson' (late) to extend your display from April through June.
This strategy works especially well in zones 5-7, where temperature fluctuations naturally create a gradual bloom sequence.
Light exposure also plays a role. Dutch irises need full sun (6+ hours daily), but in hot southern climates, afternoon shade can prevent heat stress and extend bloom duration. If your irises receive partial shade, expect blooms to arrive 1-2 weeks later than in full sun.
Watch for bud development in early spring—this is your best indicator of bloom timing. Healthy rhizomes will show green shoots in February-March (zones 7-10) or March-April (zones 3-6). If you see no growth by these dates, check for rot, poor drainage, or planting depth issues.
Pro tip: Mark your planting date and track bloom timing each year. Over time, you'll notice patterns specific to your microclimate. For example, a cool spring might delay blooms by 2-3 weeks compared to a warm one. Adjust your garden plans accordingly to maximize seasonal interest.
With
How to extend Dutch iris blooming season: pro tips for longer displays
Dutch irises are famous for their vibrant, showy blooms, but their natural flowering window can feel disappointingly short. With the right techniques, you can stretch that peak bloom period from just a few weeks to nearly two months.
The secret lies in strategic planting and understanding how these rhizomes respond to seasonal cues.
Unlike many bulbs, Dutch irises don't bloom in the same year they're planted. Instead, they need proper dormancy periods and precise timing to trigger consistent flowering. By manipulating planting schedules and soil conditions, you can create staggered blooms that keep your garden colorful from late spring through early summer.
- 📅 Plant in fall (September-October) for earliest blooms next spring. This mimics their natural cycle in Mediterranean climates.
- 🌱 Space rhizomes 6-12 inches apart in well-draining soil to prevent overcrowding, which delays flowering.
- ☀️ Ensure full sun exposure (6+ hours daily) to maximize bloom production and intensity.
- 💧 Water deeply but infrequently during dormancy (fall/winter) to encourage strong root development.
- ✂️ Deadhead spent blooms to redirect energy to rhizome storage for next year's flowers.
For extended displays, try planting three batches of rhizomes at 2-week intervals in early fall. This creates a rolling bloom effect that keeps flowers appearing continuously. In colder zones (USDA 3-5), plant the final batch in late spring after the last frost for a late-summer extension.
Soil preparation is critical—amend heavy clay with sand or grit to improve drainage, as Dutch irises hate soggy roots. A light application of balanced fertilizer (5-10-10) in early spring promotes robust growth without encouraging excessive foliage at the expense of blooms.
After flowering, let the foliage yellow naturally before cutting it back. This process allows the plant to photosynthesize and store energy for next year's blooms. In hot climates (USDA 8-10), provide light afternoon shade during peak summer to prevent stress-induced dormancy.
With these techniques, you'll transform your Dutch iris display from a fleeting burst of color into a month-long garden highlight. The key is patience—these rhizomes reward careful timing with longer, more abundant blooms each season. 🌸