
Flowers
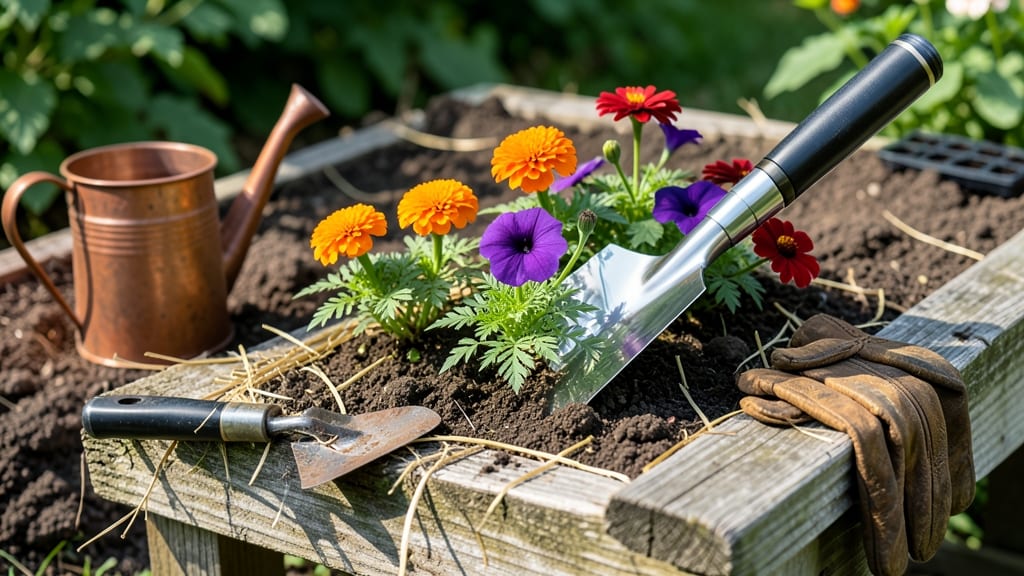
Planting flowers in the ground the right way means the difference between a garden that fades in weeks and one that bursts into color year after year.
You’ve picked out your favorite annuals and perennials, but without the right spacing, depth, and timing, even the hardiest blooms can struggle. That’s why I’m sharing the exact techniques I’ve used to turn bare soil into a thriving, low-maintenance flowerbed—no green thumb required.
First, we’ll tackle soil prep and the critical depth rules for bulbs, seeds, and transplants. Then, I’ll walk you through a step-by-step planting process that keeps roots happy and blooms abundant. Finally, we’ll cover the common mistakes that rob flowers of their potential—and how to fix them before they happen.
By the end, you’ll know exactly how to plant flowers in the ground so they grow strong, resist pests, and reward you with season after season of beauty. Let’s get started.

Perfect flower planting depth & spacing by type: expert guidelines for root health
Getting your flower planting depth and spacing right is the difference between a garden that blooms for weeks and one that fades in days. Too shallow, and roots struggle to anchor.
Too crowded, and plants compete for nutrients, leaving you with leggy stems and sparse blooms. The science behind proper planting ensures strong root systems that support vibrant flowers season after season.
Every flower type has unique needs—annuals like petunias need quick establishment, while perennials like coneflowers demand long-term root space. Even bulbs like tulips have depth rules: plant them too deep, and they won’t bloom; too shallow, and they rot.
Let’s break down the exact measurements and spacing for your garden’s star performers, from sun-loving geraniums to shade-dwelling impatiens.
Here’s the golden rule: plant depth equals root ball size for container-grown flowers, while bare-root plants go twice as deep as their roots. Spacing? Think of it as giving each plant its own personal bubble—usually 2-3 times the plant’s mature width.
Overcrowding stresses plants, making them vulnerable to pests and diseases, while proper spacing improves airflow and reduces fungal risks.
For sun-loving annuals like marigolds or zinnias, aim for 12-18 inches apart and a depth equal to the root ball. Shade-tolerant perennials such as hostas or impatiens need 10-12 inches of space and a slightly shallower planting depth to encourage surface root growth. Bulbs like daffodils should go 6 inches deep, while shrubs like hydrangeas need holes twice as wide as their root balls.
| Plant Type | Planting Depth | Spacing (Mature Width) | Sun Needs | Pro Tip |
|---|---|---|---|---|
| Annuals (Petunias, Marigolds) | Root ball depth | 12-18 inches | Full sun (6+ hours) | Water deeply after planting to settle soil. |
| Perennials (Coneflowers, Black-Eyed Susans) | Root ball depth | 18-24 inches | Full sun to partial shade | Mulch 2-3 inches deep to retain moisture. |
| Bulbs (Tulips, Daffodils) | 6 inches deep (2x bulb height) | 4-6 inches apart | Full sun to partial shade | Plant in fall for spring blooms. |
| Shade Plants (Impatiens, Hostas) | Slightly shallower than root ball | 10-12 inches | Partial to full shade | Avoid waterlogging; amend soil with compost. |
| Shrubs (Hydrangeas, Roses) | 2x root ball depth | 3-5 feet (depending on variety) | Varies by type (most need sun) | Stake tall varieties to prevent flopping. |
Let’s tackle common mistakes that sabotage your flowers before they even sprout.
Planting too deep can suffocate roots, while shallow planting leaves them exposed to temperature swings and drought. Geraniums, for example, need their crowns just below soil level—burying them too deep causes rot. Impatiens, on the other hand, thrive with their tops slightly above soil to prevent stem rot in humid shade.
Spacing is equally critical. Overcrowded flowers compete for water and nutrients, leading to stunted growth and fewer blooms. For instance, zinnias planted 12 inches apart will produce larger, showier flowers than those crammed into 6-inch gaps.
Pro tip: Use a spacer grid or string lines to mark planting spots before digging—this ensures even distribution and saves time.
Don’t forget about soil conditions. Amend heavy clay soil with compost to improve drainage, especially for bulbs and shallow-rooted plants. For sandy soil, mix in peat moss to retain moisture.
A quick soil test (pH 6.0-7.0 is ideal for most flowers) can reveal if your garden needs lime to sweeten acidic soil or sulfur to lower pH for acid-loving plants like azaleas.
Timing matters too. Plant cool-season annuals like pansies in early spring or fall, while heat-loving flowers such as sunflowers wait until soil warms to 60°F (15°C).
For perennials, divide clumps every 3-4 years in early spring to rejuvenate growth. Bulbs should go into the ground 6-8 weeks before the first frost for optimal root establishment.
After planting, give your flowers a deep watering to encourage roots to spread into the surrounding soil. Avoid overhead watering, which can spread fungal diseases. Instead, use a soaker hose or drip irrigation to deliver moisture directly to the root zone.
Mulch with 2-3 inches of organic matter (like shredded bark) to lock in moisture and suppress weeds—just keep mulch 2 inches away from stems to prevent rot.
With these expert
Step-by-step flower planting process: from soil prep to first watering
Planting flowers in the ground isn’t rocket science, but it does require a few key steps to ensure your blooms take root and flourish. Start by choosing the right location—most flowers need 6+ hours of sunlight daily, though shade-lovers like impatiens thrive in dappled light.
Before digging, test your soil’s pH level (ideal: 6.0–7.0 for most flowers) with a simple kit from your garden center.
Soil prep is where many gardeners trip up. Loosen the top 12 inches of soil with a fork or tiller to improve aeration, then mix in 2–3 inches of compost or aged manure.
For heavy clay soil, add sand or perlite to boost drainage—waterlogged roots are a surefire way to kill your plants before they bloom.
🌱 Your Flower Planting Checklist
-
Step 1: Dig the Hole
Make the hole twice as wide as the root ball and 1–2 inches deeper. Loosen the sides to encourage root spread.
-
Step 2: Amend the Soil
Mix 1 part compost into the native soil at the hole’s bottom. For acidic-loving plants like azaleas, add peat moss.
-
Step 3: Transplant Gently
Remove the plant from its pot, untangle roots, and place it in the hole so the top of the root ball sits level with the soil. Never bury the stem!
-
Step 4: Backfill & Water
Fill the hole with soil, pressing lightly to remove air pockets. Water deeply until moisture reaches 6 inches down.
-
Step 5: Mulch & Protect
Apply 2–3 inches of mulch (straw or wood chips) around the base, keeping it 2 inches away from the stem to prevent rot.
After planting, monitor your flowers for signs of transplant shock, like wilting or yellowing leaves. Most plants recover within 2–3 weeks if given consistent water and shade during hot afternoons. For container-grown plants, trim any damaged roots before transplanting to reduce stress.
Timing matters too! Plant cool-season flowers (like pansies) in early spring or fall, while heat-lovers (such as marigolds) wait until soil warms to 60°F (15°C). Check your local last frost date—planting too early can fry tender seedlings.
Finally, resist the urge to fertilize immediately. Newly planted flowers need time to establish roots—wait 4–6 weeks before applying a balanced 10-10-10 fertilizer. A little patience now means bigger blooms later!
With these steps, your flowers will go from floppy seedlings to vibrant, long-lasting blooms in no time. Happy planting! 🌸