
Flowers
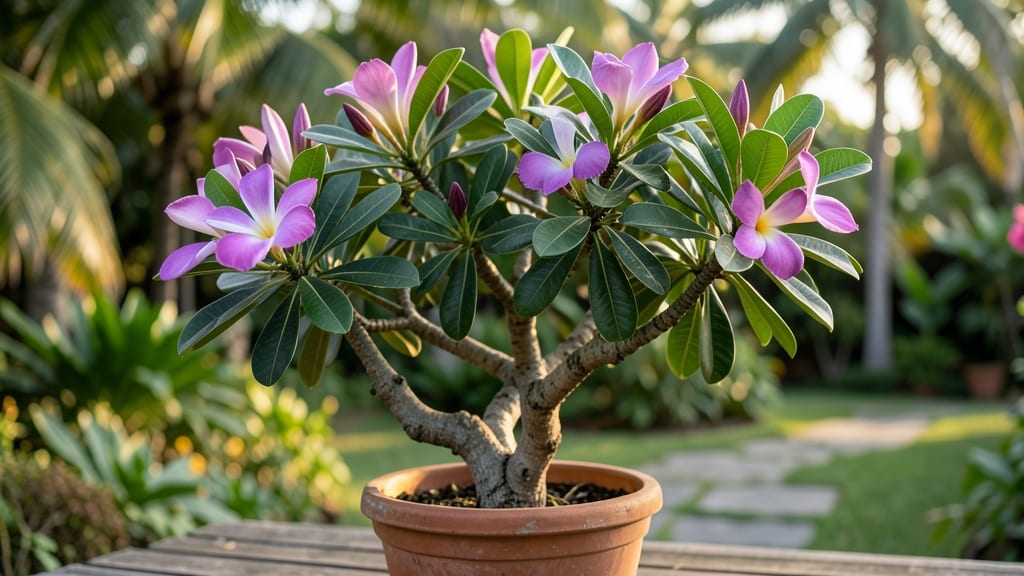
Growing a fragrant purple plumeria flower 🌺 from cuttings lets you bring tropical elegance to your garden—or even your patio—without the fuss of buying expensive plants.
Picture this: velvety purple blooms heavy with sweet perfume, swaying in the breeze like a secret tropical escape. The catch?
Many gardeners assume these beauties require a greenhouse or a magic touch—but the truth is, with the right soil, light, and a little patience, you can root and grow your own from a simple cutting.
In this guide, I’ll walk you through the easiest way to propagate purple plumeria, from picking the perfect cutting to mimicking their natural tropical conditions—even if you’re not in USDA zones 10-12. No green thumb required, just a few key tricks.
You’ll also discover how to keep your plumeria blooming year after year, which varieties smell the strongest, and how to avoid the most common mistakes that kill cuttings before they even take root.
How to propagate purple plumeria flowers from cuttings: a step-by-step guide
Propagating purple plumeria flowers from cuttings is one of the most rewarding ways to grow these tropical beauties. Unlike buying mature plants, starting from cuttings lets you create identical clones of your favorite varieties while saving money.
The key lies in selecting the right cutting time, using the proper tools, and creating ideal rooting conditions. With patience and care, you'll soon have thriving plumeria plants ready to fill your garden with fragrance.
Plumeria cuttings root best during the active growing season, which typically runs from late spring to early summer in warm climates. This timing ensures your cuttings have plenty of warmth and humidity to encourage root development.
If you're in a cooler zone, opt for indoor propagation using a heat mat or grow lights. Avoid taking cuttings after a frost or during dormancy, as the success rate drops significantly during these periods.
Step-by-Step Guide to Propagating Purple Plumeria Cuttings
- 1 Select Healthy Cuttings: Choose thick, woody stems (about pencil-sized) that are free of disease or damage. Look for nodes (bumpy areas where leaves grow) as these are ideal for rooting. Use clean, sharp pruners to make a 45-degree cut just below a node.
- 2 Prepare the Cuttings: Remove all but the top 2-3 leaves to reduce moisture loss. Let the cut ends callus over for 1-2 hours by leaving them in a dry, shaded area. This step helps prevent rot when planted.
- 3 Choose Rooting Medium: Fill a clean pot with a well-draining mix of 50% perlite and 50% coconut coir or sand. Avoid garden soil, as it retains too much moisture. Sterilize the mix by baking it at 200°F for 30 minutes to kill pathogens.
- 4 Plant the Cuttings: Insert the callused end 2-3 inches deep into the rooting medium, ensuring the node is buried. Space multiple cuttings 3-4 inches apart in the pot. Gently firm the mix around the stems to secure them.
- 5 Create Humidity: Place a clear plastic bag over the pot to trap moisture and humidity. Secure it loosely with a rubber band to allow airflow. Place the pot in a warm location with bright, indirect light (avoid direct sun, which can overheat the cuttings).
- 6 Monitor and Water: Keep the rooting medium slightly moist (not soggy) by misting every 2-3 days. Check for yellowing leaves, which may indicate overwatering, or wilting, which signals underwatering. Remove the plastic bag for 10 minutes daily to prevent mold.
- 7 Encourage Root Growth: After 4-6 weeks, gently tug on the cuttings. If you feel light resistance, roots are forming. Once new growth appears (usually in 8-12 weeks), gradually remove the plastic bag over 1-2 weeks to acclimate the plants to normal humidity.
- 8 Transplant Young Plants: Once roots are 2-3 inches long and new leaves emerge, transplant the cuttings into individual pots with well-draining soil. Use a mix of 60% potting soil, 20% perlite, and 20% compost. Keep them in bright, indirect light for 2 weeks before moving to full sun.
One of the most common mistakes beginners make is overwatering plumeria cuttings. These tropical plants are drought-tolerant once established, but their delicate roots during propagation need **consistent
Best purple plumeria varieties for fragrance and color: top 5 choices for gardeners
If you're dreaming of a garden filled with fragrant purple plumeria flowers, you're in for a treat. These tropical beauties not only add a splash of vibrant purple hues but also fill the air with sweet, intoxicating scents.
Whether you're a beginner or an experienced gardener, choosing the right variety makes all the difference. The top 5 purple plumeria varieties stand out for their unique fragrance profiles and stunning blooms, making them perfect for containers or landscape gardens.
Purple plumeria flowers thrive in warm climates (USDA Zones 10-12) but can also be grown as potted plants in cooler regions. Their fragrance intensity and color vibrancy vary by variety, so selecting the right one depends on your garden's aesthetic and scent preferences.
Let's explore the best purple plumeria varieties that will elevate your outdoor space with their beauty and aroma.
Each of these purple plumeria varieties brings something special to your garden. The Lavender Swirl is ideal if you love soft, romantic scents, while Purple Majesty delivers a bold, tropical aroma perfect for outdoor gatherings.
For a more delicate fragrance, Royal Mauve is a fantastic choice, especially for container gardening. If you prefer a