
How To
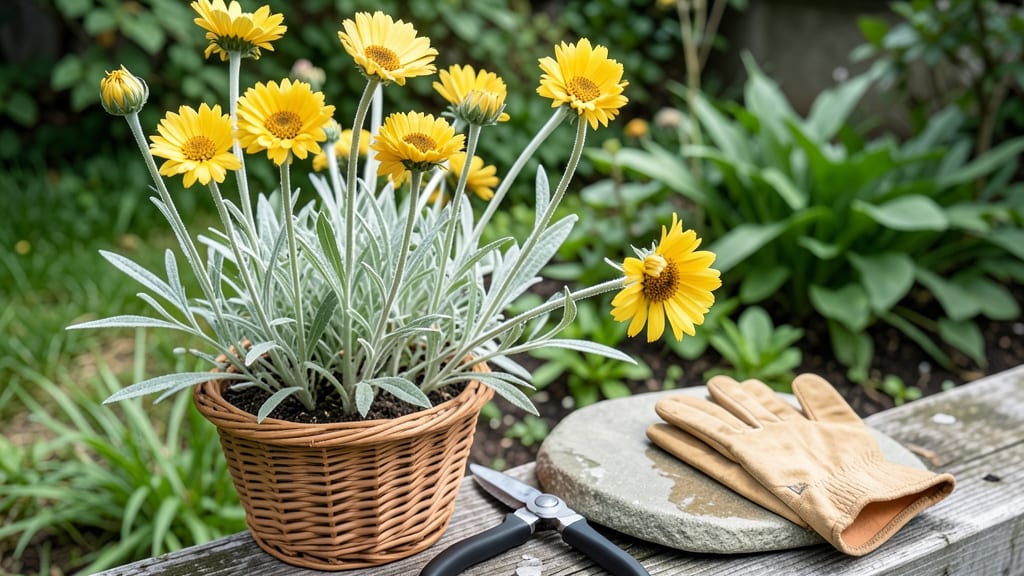
Harvesting strawflower at the right moment turns their blooms into long-lasting dried flowers that brighten arrangements for months — and missing that window means floppy stems and faded petals.
Strawflowers (🌼 Xerochrysum bracteatum) aren’t just beautiful—they’re a gardener’s secret weapon for preserving summer color. But knowing exactly when to pick them can mean the difference between vibrant arrangements and wilted disappointment.
Most gardeners wait until the buds fully open, but the real trick lies in watching for two key signals: a color shift from green to pink or white, and a stem that snaps cleanly when bent. These two methods combined ensure you harvest at peak freshness.
In this guide, I’ll walk you through how to spot the perfect moment, avoid common mistakes that ruin harvests, and even extend their life once you’ve cut them. Ready to master the art of strawflower harvesting?


How to tell when strawflower buds are ready by color shift
Strawflowers (Helichrysum bracteatum) reveal their harvest readiness through a striking color transformation—one of the most reliable indicators for gardeners. Unlike many flowers, strawflower buds start green and fuzzy before maturing into their signature pink, white, or yellow hues.
This shift isn’t just about aesthetics; it signals when the buds contain optimal moisture levels for drying while retaining their vibrant color.
The color change begins when buds transition from closed green capsules to partially unfurling papery petals. At this stage, the center may still appear greenish, but the edges start showing pink or white hints.
This is your first cue to monitor closely, as the timing can vary by 2-3 weeks depending on your USDA zone and local climate.
For gardeners in cooler regions (Zones 3-5), the shift typically occurs in late July to early August, while those in warmer zones (7-10) may see buds ready as early as June or as late as September.
Humidity also plays a role—drier climates accelerate color changes, while high-humidity areas may delay them by up to 10 days.
| Bud Stage | Color Indicators | Harvest Window | Best For |
|---|---|---|---|
| Closed Green Bud | Solid green, fuzzy texture | Not ready | Seed development |
| Partially Open | Green center with pink/white edges | Monitor daily | Early drying tests |
| Fully Open | Uniform pink/white/yellow, flat petals | Prime harvest | Dried arrangements |
| Overripe | Brown edges, wilted centers | Avoid | Loss of vibrancy |
The ideal harvest stage occurs when buds are fully open but still slightly crisp to the touch—like the texture of dried paper. At this point, the color should be uniform and vibrant, with no green remnants in the center.
This stage ensures buds will hold their shape during drying while maintaining their original hue for months.
For white varieties, look for a creamy, almost translucent appearance, while pink and yellow types should display rich, even tones without streaks. Uneven coloring often indicates stress from uneven sunlight or nutrient deficiencies, which can compromise the final dried product.
Regional differences matter: In Pacific Northwest gardens, buds may take longer to mature due to cooler summers, while Southern gardeners often harvest 2 weeks earlier. To account for this, I always harvest a few test buds 3-4 days before the expected color shift to gauge readiness.
Pro tip: Use a small magnifying glass to inspect buds closely. The papery texture becomes more apparent under magnification, helping you spot early signs of readiness before the color shift is fully visible to the naked eye. This method works especially well for pale varieties that blend into green foliage.
Once buds reach the fully open stage, act quickly—ideal drying conditions (60-70°F and low humidity) can preserve their color for up to 6 months. Delaying harvest past this point risks bud browning or petal drooping, which ruins their dried appeal.
Remember, the color shift is your primary guide, but always pair it with the stem snap test (covered in the next section) for 100% accuracy. This two-step approach ensures you never miss the perfect harvest window.
The stem snap test: a reliable way to check harvest readiness
While bud color is your first clue, strawflowers have a secret trick up their woody stems: the stem snap test. This simple method reveals whether the plant’s internal moisture levels are perfect for drying—without guessing.
I’ve used this trick for years, and it’s saved me from harvesting flowers that would’ve crumbled into dust during drying.
The test works because strawflowers naturally reduce moisture as they mature. When the stem reaches the right dryness, it snaps cleanly—like breaking a dry twig. But here’s the catch: you want a dull snap, not a crisp one.
A crisp snap means the stem is over-dry, while no snap at all signals it’s still too green.
🌱 How to Perform the Stem Snap Test
- Gently pinch a healthy stem about 2 inches below the flower head.
- Bend it away from you—don’t squeeze. You’re testing structural dryness, not strength.
- Listen for a dull snap (like a wooden ruler breaking). If it bends or gives way, wait 2-3 days.
⚠️ Pro Tip: Test stems on the shady side of the plant first—they dry slower and are more reliable indicators.
For foolproof results, combine this test with your color check. A dull snap + fully open petals = perfect harvest timing. I’ve found this combo works even in humid climates, where buds might look ready but stems stay stubbornly green.
Timing matters because overripe flowers lose their vibrant color faster during drying. If you snap a stem and hear nothing, harvest in 24-48 hours—the flower will be ready by then. But if it snaps too crisply, you’ve missed the window. The stem’s woody texture is your best friend here.
One mistake I see often? Testing stems in the morning after watering. Stems hold extra moisture then, giving a false "ready" signal. Always test in the late afternoon, when moisture levels are lowest. Pair this with harvesting on a sunny, dry day for the best results.
Once you master the snap test, you’ll never second-guess your harvest again. Your dried strawflowers will stay bright and crisp for years—proof that patience (and a little stem science) pays off in the garden. 🌿