
How To
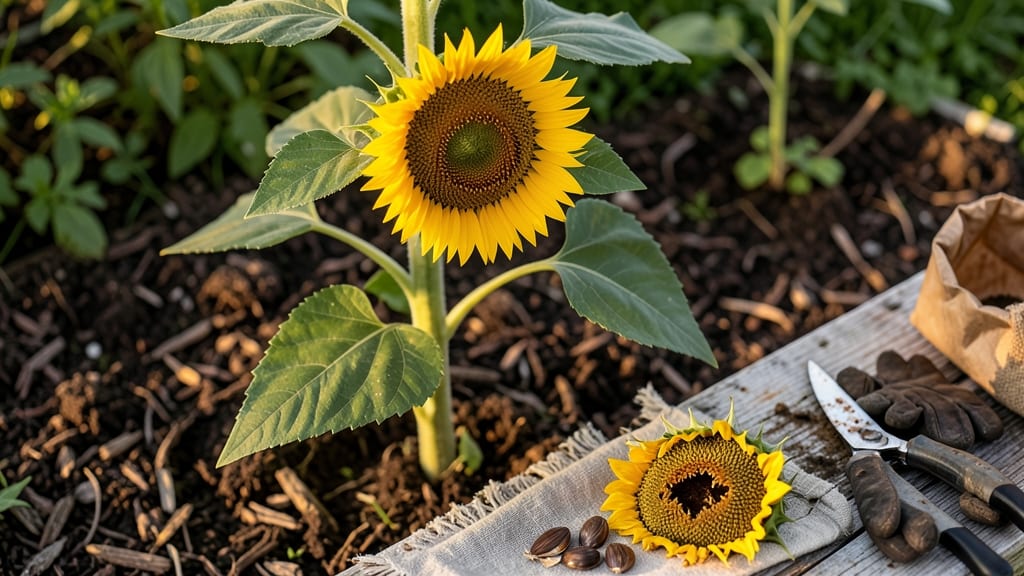
Knowing when sunflower seeds are ready to harvest means catching them at their peak flavor and viability—before they shatter or spoil.
Picture this: your 🌻 sunflower stands tall in your garden, its petals long gone, but the seed head still looks green. One wrong move, and you’ll miss the harvest window entirely. The difference between rich, nutty seeds and bitter, unshellable ones comes down to timing—and a few simple visual cues.
In USDA Zone 6a, where spring planting kicks off in April, seeds typically mature between July and September. But how do you know exactly when they’re ready?
The answer lies in the color of the seed head, the sound of the seeds inside, and even the way they shell in your hand.
Below, I’ll walk you through the easiest way to test for maturity—no guesswork required. You’ll learn how to spot the perfect moment, avoid common mistakes, and store your harvest for months to come.


5 Visual and physical signs sunflower seeds are ready for harvest
Knowing exactly when to harvest sunflower seeds can mean the difference between rich, flavorful seeds and bitter, unusable ones. The key lies in watching for visual and physical changes that signal maturity.
These signs aren't just about color—they involve texture, sound, and even the plant's overall condition. I've learned that ignoring these cues often leads to wasted effort or poor-quality seeds.
Sunflowers are one of those plants where timing is everything. Harvest too early, and the seeds won't be fully developed. Harvest too late, and they'll dry out on the plant, making them difficult to shell.
The good news? Mother Nature gives us clear signals if we know what to look for. Let's break down the five key indicators that your sunflower seeds are finally ready for the picking.
How to Know When Sunflower Seeds Are Ready
-
1. Petals Turn Brown and Fall Off
The vibrant yellow petals will wilt, dry out, and eventually drop away, leaving only the seed head behind.
-
2. Seed Head Turns Golden-Brown
The back of the seed head (the bracts) will change from green to yellow, then finally to a dry brown.
-
3. Seeds Rattle When Shaken
Gently shake the seed head—if the seeds move freely inside and make a dry rattling sound, they're ready.
-
4. Seed Shells Are Dry and Papery
Press a seed between your fingers—if it snaps easily and the shell feels dry and brittle, it’s mature.
-
5. Leaves Begin to Yellow and Die Back
The lower leaves will turn yellow and crisp, signaling the plant is redirecting energy to seed maturation.
One of the most common mistakes I see is waiting for the seed head to turn completely brown before harvesting. While the color change is important, the texture and sound are equally critical.
A seed head that's fully brown but still soft or spongy means the seeds inside aren't ready. Always combine visual cues with the physical tests I mentioned above.
Another pitfall is harvesting seeds that are still slightly green on the back of the head. These seeds won't store well and may develop mold. I learned this the hard way—last year, I harvested a few seeds too early, and they sprouted mold within weeks.
Now, I wait until the back is fully dry and papery before cutting the head.
If you're growing sunflowers for birdseed, you can leave the heads on the plant slightly longer—they'll dry out more completely. But for culinary or storage purposes, aim to harvest when the seeds are fully mature but still in good condition.
This usually means cutting the head when it's 80-90% dry.
One pro tip I picked up from experienced gardeners: harvest on a dry, sunny day. This allows the seed heads to finish drying naturally after picking, reducing the risk of mold.
I always lay the cut heads on a clean towel or paper in a dry, shaded spot for a day or two before shelling.
Finally, don’t forget to check the seed variety you're growing. Some sunflowers, like Russian Mammoth, take longer to mature than smaller varieties. Always refer to the seed packet guidelines for estimated days to maturity, but use the visual signs as your final judge.
When in doubt, perform the thumb test: gently press a seed between your thumb and forefinger. If it snaps cleanly and the shell feels dry and crisp, it’s ready.
If it’s still soft or squishy, give it another week or two. Trust your senses—they’re the best tools you have!
With these signs in mind, you’ll never miss the perfect harvest window again. Happy gardening, and may your sunflower seeds be plentiful and delicious! 🌻
How to test sunflower seed maturity: the shelling and taste method
Once your sunflowers show visual readiness, the next step is confirming maturity through hands-on tests. The shelling method and taste test are my go-to techniques to avoid harvesting too early or too late. These simple checks ensure you get seeds perfect for roasting or birdseed, depending on your goal.
Timing matters because premature seeds won’t shell easily and taste bitter, while overripe seeds may sprout poorly or attract pests. The key is finding that sweet spot where seeds are dry, loose, and flavorful. Let’s break down the two most reliable tests I use every harvest season.
Testing Sunflower Seed Maturity
- Pros: Quick, no tools needed
- Cons: Subjective strength test
- Best for: Culinary seeds
- Pros: Confirms flavor and readiness
- Cons: Requires sampling seeds
- Best for: Roasting or snacking
For the shelling method, pick a seed from the center of the head and try to pop it out with your thumb. If it comes off easily with just a little pressure, your seeds are ready.
If the seed resists or the head feels spongy, wait 3-5 more days. This test works best in the morning when seeds are driest.
Next, the taste test is my favorite because it’s the ultimate confirmation. Shell a few seeds and sample one raw. If it’s creamy, nutty, and sweet, you’ve nailed the timing.
Bitter or chalky flavors mean they’re not fully mature yet. For birdseed, you can harvest slightly earlier when seeds are still firm but dry.
Troubleshooting is key—if your seeds feel too soft or greenish, they’re premature. Overripe seeds will be hard as rocks and may not sprout well. In my experience, late August to early September is the ideal window in USDA Zone 6a, but adjust based on your local climate.
Pro tip: Hang harvested heads upside down in a dry, dark place for 1-2 weeks to finish drying. This extra step prevents mold and ensures seeds store well for months. Now you’re ready to shell, roast, or share with birds—no guesswork involved!