
How To
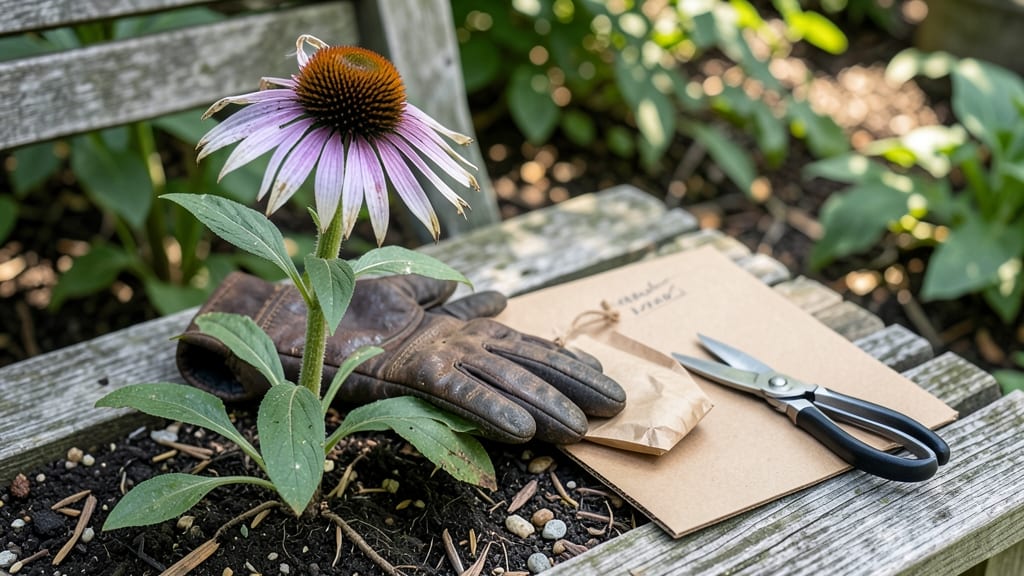
To harvest purple coneflower seeds 🌼 at the perfect time means catching them just before they scatter on the wind — a window that lasts only a few weeks each year.
Picture this: you’ve nurtured your purple coneflower all season, and now the moment arrives when those brown seed cones are ready to be collected. Miss it, and you’ll end up with empty stems or seeds that won’t sprout.
But nail it, and you’ll have a stash of free seeds for next year’s garden.
Timing is everything. The ideal moment falls between late summer and early fall, when the central cone turns fully brown and the petals begin to wilt. This guide walks you through every step—from recognizing the right moment to drying and storing seeds for the best germination.
Whether you’re a seasoned gardener or just starting out, you’ll learn how to avoid common pitfalls like harvesting too early or letting seeds drop before you’re ready. By the end, you’ll have a foolproof method to turn this year’s blooms into next year’s thriving plants.


When to harvest purple coneflower seeds: optimal timing for best germination
Timing is everything when harvesting purple coneflower seeds—collect them too early, and you’ll get damp, moldy seeds. Harvest too late, and frost or wildlife will steal your hard work. The ideal window spans from late August through early October, when the plant’s life cycle naturally prepares for dormancy.
This 4-6 week period gives you flexibility based on your USDA hardiness zone and local frost dates.
Look for these three key visual cues to know your seeds are ready: the central cone turns deep brown, the petals wilt and drop naturally, and the seed heads feel dry and brittle.
If you gently shake the dried cone, you’ll hear seeds rattling inside—a classic sign of readiness. These visual clues ensure you’re harvesting at peak germination potential.
Regional adjustments are crucial—gardeners in USDA zones 3-5 should harvest by mid-September to avoid early frosts, while those in zones 7-9 have until early November. Check your local first frost date and aim to harvest 2-3 weeks before the average frost arrives.
This timing ensures seeds dry properly without exposure to moisture or freezing temperatures.
Harvesting too early is a common mistake—green cones contain immature, non-viable seeds that won’t germinate. These seeds often develop fungal infections during drying due to their high moisture content. Conversely, waiting too long risks seed loss to wildlife like birds and squirrels, which adore coneflower seeds.
The sweet spot is when the cone is fully brown but before it disintegrates.
Morning harvests work best because dew-free conditions prevent moisture from clinging to seeds. Use clean, sharp pruners to cut stems 2-3 inches below the seed head, leaving the base intact for next year’s growth.
Bundle stems in paper bags (not plastic) to allow airflow during the 1-2 week drying process indoors.
Proper timing directly impacts germination rates—seeds harvested at the right stage can achieve 80-90% viability, while poorly timed harvests may drop below 30%. Store dried seeds in a cool, dark place (like a seed envelope) until spring planting.
This careful approach ensures you’ll have healthy, self-sustaining coneflowers for seasons to come.
If you miss the harvest window, don’t despair—purple coneflowers readily self-seed in the garden. Simply leave a few seed heads on the plant, and they’ll scatter naturally. However, for higher-quality seeds and better control, manual harvests yield the best results.
This method also lets you share seeds with fellow gardeners or expand your own pollinator-friendly garden.
For gardeners in coastal climates, watch for humidity-related mold risks—dry seeds faster in a well-ventilated area or use a dehumidifier if needed. In arid regions, seeds may dry too quickly; slow the process by storing them in a partially closed container for the first 48 hours.
These regional tweaks ensure your seeds stay viable regardless of climate.
Remember: patience pays off with purple coneflowers. The 1-2 week drying period is non-negotiable—rushing it leads to moldy or shriveled seeds that won’t sprout. Once properly dried, store seeds in paper envelopes labeled with the harvest date.
This simple step keeps your seed collection organized and ready for next year’s spring planting.
Step-by-step guide to harvesting and processing purple coneflower seeds
Once you’ve identified your purple coneflower seeds are ready for harvest, the next step is proper collection and processing. This ensures high germination rates and prevents seed loss from birds or weather.
Start by gathering your tools: clean pruners, paper bags, and a flat surface for drying. Work on a dry, sunny day to avoid moisture issues that can cause mold.
Timing is everything—harvest too early, and seeds won’t be viable; wait too long, and they may scatter naturally. The ideal window is when the conehead turns fully brown and the petals have mostly fallen off.
This usually occurs in late summer to early fall, depending on your USDA zone. If frost threatens before seeds are ready, harvest early and dry them indoors.
How to Harvest Purple Coneflower Seeds
- Step 1: Cut the seed heads with clean pruners, leaving a 1-inch stem. Harvest on a dry morning to avoid moisture.
- Step 2: Place seed heads in paper bags (not plastic) to allow airflow. Label each bag with the harvest date and variety.
- Step 3: Hang bags upside down in a dry, shaded area (like a garage or shed) for 2-3 weeks to fully dry.
- Step 4: Once dry, gently crush the coneheads over a tray to release seeds. Remove debris with a fine mesh sieve.
- Step 5: Store seeds in a paper envelope or glass jar in a cool, dark place (like a fridge) for up to 2 years.
Avoid these common mistakes that reduce seed viability: harvesting when the conehead is still green, using plastic bags that trap moisture, or storing seeds in humid conditions.
If seeds feel damp after drying, spread them on a paper towel in a single layer for an extra day to finish drying.
After processing, your purple coneflower seeds are ready for planting or sharing. For best results, stratify seeds (mix with damp sand and refrigerate for 2 weeks) before sowing in spring. This mimics winter conditions and boosts germination rates from 50% to 90%.
With proper drying and storage, you’ll have a reliable seed source for years. Share extras with fellow gardeners or use them to fill gaps in your pollinator-friendly garden. Happy harvesting! 🌾✂️🌼